How to Read a Fish Finder for Walleye
For many Nebraska anglers, staring at a fish finder screen can feel like trying to decipher an ancient hieroglyphic language. You’ve invested in the technology, you know it’s supposed to help you find those elusive walleye, but often, it just looks like a confusing mess of lines and colors. This guide is here to unravel that mystery, transforming your sonar display from a puzzle into a powerful tool for locating walleye in the diverse waters of the Cornhusker State.
Getting Acquainted with Your Fish Finder's Core Functions
Before you can effectively hunt for walleye, it's crucial to understand the fundamental ways your fish finder gathers and displays information. It’s not just about turning it on; it’s about understanding the language it speaks.
Understanding Different Sonar Frequencies
Modern fish finders are incredibly versatile, offering various types of sonar, each with its own strengths. Knowing which one to use when, and what to expect from its display, is key to success.
- 2D Sonar (Traditional Sonar): This is the classic "fish arch" sonar, and it's the foundation of most units. It works by sending out a conical beam of sound waves. When those waves hit an object – a fish, the bottom, a submerged tree – they bounce back to the transducer, which then interprets the return as a mark on your screen. High frequencies (like 200 kHz) offer more detail and better target separation, ideal for distinguishing individual fish or closely packed schools. Lower frequencies (like 50 kHz or 83 kHz) penetrate deeper and cover a wider area, which can be useful in very deep water or when scouting large areas for general structure. For walleye, who often hold tight to structure or near the bottom, understanding both the detail of high frequency and the broader view of lower frequency can be invaluable. This traditional sonar is your bread and butter for seeing fish arches.
- Down Imaging (or DownScan, ClearVü): Think of Down Imaging as a photographic-quality view directly beneath your boat. Instead of a cone, it uses a thin, fan-shaped beam that essentially scans the water directly below. This gives you incredibly sharp, picture-like details of structure, baitfish, and often, the fish themselves. Walleye, with their tendency to relate closely to features like rock piles, stumps, or ledges, will often show up as distinct, bright marks right on or very close to the bottom structure. It's fantastic for confirming what that blob on your 2D sonar actually is. You can often discern individual tree branches or even a walleye sitting directly on a rocky outcrop.
- Side Imaging (or SideScan, StructureScan): Now, this is where things get really interesting for covering water. Side Imaging also uses fan-shaped beams, but they shoot out horizontally to the sides of your boat, covering a vast area. This allows you to "see" underwater structure, changes in bottom composition, and schools of fish hundreds of feet to either side without driving directly over them. For walleye anglers, Side Imaging is a game-changer for scouting large flats, long points, or identifying submerged humps and channels quickly. You can literally drive down a lake and see a contour break, a cluster of timber, or a school of fish off to your left or right, giving you targets to investigate further with your 2D or Down Imaging. Many experienced anglers find it indispensable for efficiently locating potential walleye hotspots in large reservoirs like Lake McConaughy. If you're looking to upgrade your unit, many top-tier fish finders offering these advanced features can be found with detailed reviews on sites like Amazon.
Interpreting the Display Settings
Your fish finder isn't a "set it and forget it" piece of equipment. Adjusting its settings according to conditions and your fishing style will dramatically improve its effectiveness.
- Gain/Sensitivity: This is perhaps the most critical setting. It controls how sensitive your transducer is to returning echoes. Too low, and you'll miss faint returns from fish or subtle structure; too high, and your screen becomes cluttered with noise and interference. The goal is to set it as high as possible without creating excessive clutter. A good starting point is usually auto-gain, then adjust manually from there. You want to see a clear, distinct bottom line and visible fish arches, not just a fuzzy screen. When targeting walleye that might be hugging the bottom, a slightly higher sensitivity can help you pick up those faint signals.
- Color Palette: Most modern fish finders offer multiple color palettes. These can greatly impact how you perceive information. Brighter, more contrasting colors often highlight stronger returns (like a large fish or hard bottom) more vividly, while subtle colors might show nuances in density. Experiment with different palettes to find one that is most comfortable and effective for your eyes, especially during varying light conditions throughout the day. A palette that makes the walleye arches pop against the background is a huge advantage.
- Scroll Speed: This setting dictates how quickly the sonar history scrolls across your screen. A faster scroll speed provides a more real-time view, which is excellent when you're moving quickly or actively trying to stay on top of a school of fish. A slower scroll speed compresses the history, which can be useful for analyzing patterns or large areas of structure when you're moving slowly or drifting. For walleye, who often relate to specific, smaller pieces of structure, a faster scroll speed can help you pinpoint their exact location as you pass over.
Decoding Walleye Signatures on Screen
This is where the rubber meets the road. Knowing what a walleye actually looks like on your screen separates the casual observer from the successful angler.
Identifying Fish Arches vs. Clutter
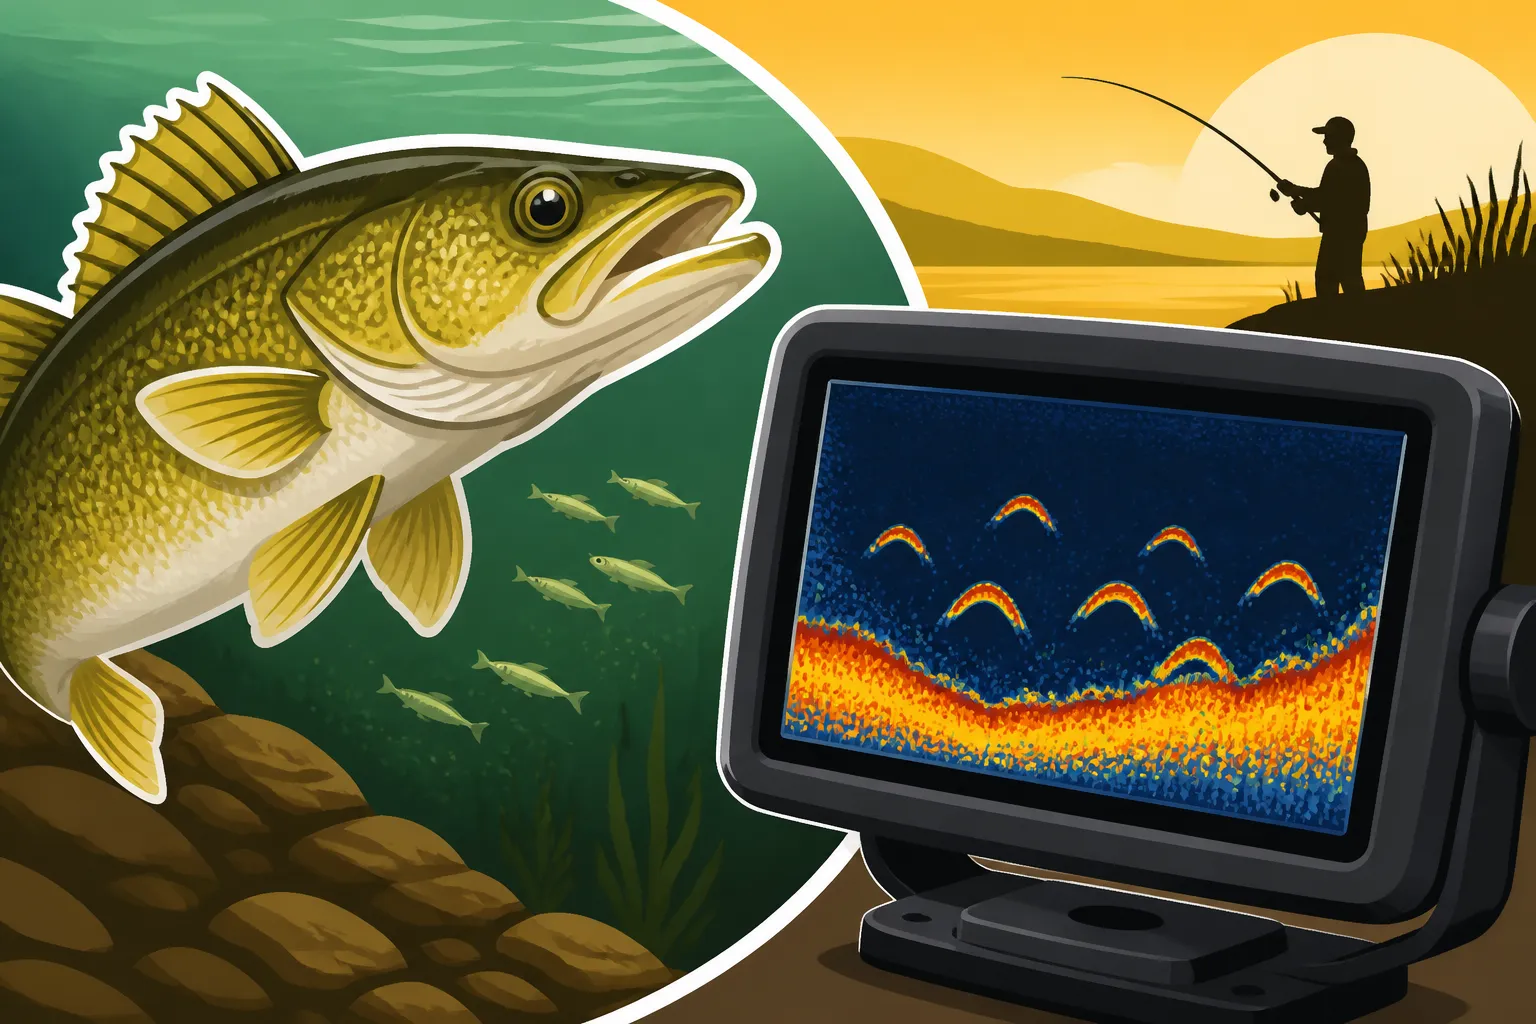
On 2D sonar, a "fish arch" is the holy grail. It's created as your boat moves over a fish, with the sonar beam hitting the fish at the edge of the cone, then directly overhead, and finally at the opposite edge. This creates an arc shape.
- What a "Good" Walleye Arch Looks Like: Walleye arches are typically strong, distinct, and often appear relatively close to the bottom, though they can suspend. A thick, well-defined arch indicates a larger fish directly under the boat. A partial arc or a thin line might be a smaller fish, a fish on the edge of the cone, or a fish that quickly moved in and out of the beam. Look for "stacked" arches, indicating a school, or individual, larger arches. Sometimes, you'll see what looks like a boomerang shape – that's often a solid fish. It’s important to distinguish these from smaller, fuzzier marks that might be baitfish or debris. Baitfish often show up as dense clouds or clumps of small, faint returns, while debris might be irregular, scattered marks.
- Walleye Depth and Size: The depth where you see the arch is crucial. Walleye are often associated with certain depths depending on water temperature, time of day, and bait availability. A large, strong arch at 20 feet near a drop-off is much more interesting than a small, faint mark suspended at 5 feet in open water. Remember, the longer a fish stays in your cone, the longer the arch. A fish that moves through the very center of your cone will show a brighter, more complete arch than one that just skirts the edge. The thickness and intensity of the arch also give clues to the fish's size; a wide, bright arch usually means a bigger fish.
Locating Walleye Near Bottom and Structure
Walleye are notorious structure-oriented fish. They love to hug the bottom, tuck into cover, or hide along edges. Your fish finder is your best friend for uncovering these hiding spots.
- The Bottom Line: On your 2D sonar, the bottom will appear as a strong, solid line. This line represents the hardest return – the lakebed. Walleye will often appear as arches or strong marks directly on or just above this bottom line. Sometimes, a walleye might appear as a "bump" or a "separation" on the bottom line itself, almost as if the bottom line briefly lifted. This is a common way walleye, particularly larger ones, are detected when they're tight to the bottom.
- Distinguishing Fish from Bottom Structure: This is where Down Imaging really shines. On 2D sonar, a fish tight to a submerged rock pile might just look like part of the structure. With Down Imaging, you can often clearly see the fish separated from the structure itself, or even nestled within it. Look for bright, distinct marks that stand out from the texture of the bottom or the shape of a stump. For example, if you're fishing Lake McConaughy Fishing Guide, known for its structure, Down Imaging can help differentiate a walleye from a rock or sand dune. Knowing How to Fish Deep Structure for Summer Walleye is especially important, and a good fish finder is critical for this technique.
Using Your Fish Finder to Find Walleye Habitat
It's not just about seeing the fish; it's about understanding why they are there. Your fish finder helps you identify the prime real estate.
Pinpointing Key Structure and Cover
Walleye are rarely found in vast, featureless expanses. They relate to structure and cover for ambush points, shelter, and access to food.
- Humps and Points: These are classic walleye magnets. On your sonar, a hump will show as a gradual rise in the bottom line, then a fall. A point will look similar, but you'll often see distinct drops on either side. Use your mapping and sonar in conjunction. The contour lines on your GPS map show the overall shape, while your sonar shows the details. Look for walleye suspended around the edges of these features or right on top.
- Submerged Timber and Brush Piles: These appear as distinct, often chaotic, irregular returns above the bottom. On 2D sonar, they might look like fuzzy blobs. With Down Imaging, they'll often appear as clear, almost photographic images of tree trunks, branches, or tangled brush. Walleye love to hide in these areas. Look for bright, distinct marks within or around the edges of the cover. Fishing around such cover can be tricky, so make sure your Best Fishing Gear for Nebraska Anglers includes snag-resistant tackle.
- Rock Piles and Ledges: These show up as hard, often jagged returns on your 2D sonar. On Down Imaging, they'll have a very distinct texture. Ledges will appear as sharp drop-offs in the bottom line. Walleye often patrol the deeper sides of these ledges or tuck into the crevices of rock piles.
Reading Bottom Composition and Depth Changes
The type of bottom and how quickly the depth changes are crucial indicators of walleye presence.
- Hard vs. Soft Bottom: A hard bottom (rock, gravel, shale) will show up as a thicker, more intense, and usually crisper bottom line on 2D sonar, sometimes with a "double echo" if your sensitivity is high. A soft bottom (mud, silt) will appear as a thinner, fuzzier bottom line. Walleye often prefer hard bottoms for spawning and for finding crustaceans and baitfish. You might also notice transitions – where a hard bottom meets a soft bottom – as these are often prime feeding zones.
- Depth Contours and Breaks: Rapid changes in depth (known as "breaks" or "drop-offs") are incredibly important. Your sonar will show these as steep inclines or declines in the bottom line. Walleye use these breaks as travel lanes and ambush points. They can quickly move up to shallower water to feed or retreat to deeper, cooler water. Actively seeking out these contour changes is one of the most effective strategies for finding walleye in Nebraska lakes. You can often pre-plan your route by checking detailed lake maps before you even launch your boat.
Advanced Techniques and Walleye-Specific Strategies
Once you've mastered the basics, you can apply more refined techniques to really home in on those walleye.
Utilizing Side Imaging for Broader Coverage
We talked about Side Imaging in the basics, but its application for walleye deserves a deeper dive. Imagine you're on a vast reservoir like Harlan County Reservoir. Driving over every potential spot with 2D sonar would take forever.
- Scanning Large Areas Efficiently: With Side Imaging, you can literally scan both sides of your boat up to hundreds of feet. This means you can cover a 200-foot wide swath of water with each pass. As you move, you're looking for anomalies: baitfish schools, isolated rocks, submerged timber, or even distinct fish returns that stand out from the bottom. When you spot something interesting off to the side, mark a waypoint, and then swing your boat around to investigate that specific spot with your 2D and Down Imaging sonar. This significantly reduces the amount of unproductive water you need to fish.
- Identifying Trolling Passes: If you're employing How to Troll for Walleye in Nebraska, Side Imaging is gold. You can see the edges of underwater channels, the extent of a rock rubble field, or the exact path of a contour line. This allows you to make precise trolling passes, keeping your lures in the strike zone longer. Knowing the exact width of a walleye school on Side Imaging can also help you determine how many lines to run or how wide your spread should be. For bigger bodies of water, even dedicated trolling motor setups can be researched and purchased on Amazon, allowing for integrated sonar control.
The Importance of Water Temperature and Thermoclines
Walleye are highly sensitive to water temperature. Understanding how temperature layers appear on your sonar can lead you directly to them.
- Detecting the Thermocline: In deeper lakes, especially during summer, the water column often stratifies into layers of different temperatures. The thermocline is the distinct boundary between the warmer upper layer (epilimnion) and the cooler, deeper layer (hypolimnion). This thermocline often appears as a fuzzy or hazy line on your 2D sonar, usually at a specific depth. It's a natural boundary that concentrates baitfish and, consequently, predator fish like walleye. Many walleye will suspend right on top of, within, or just below the thermocline because it offers cooler, oxygenated water and access to bait. Paying attention to this "false bottom" can be vital, particularly in places like Merritt Reservoir. You can even sometimes see fish holding in this specific zone, as detailed in articles like Best Water Temperature for Walleye Fishing.
- Walleye Comfort Zones: While not all Nebraska lakes develop strong thermoclines, understanding the preferred temperature ranges for Walleye Fishing in Nebraska is crucial. Your fish finder might have a built-in temperature sensor, which you should always keep an eye on. Combine temperature readings with your sonar's depiction of structure and fish to form a complete picture of where walleye are likely to be active.
Advanced Fish Finder Symbolism for Walleye Anglers
Beyond the common fish arches, your fish finder might display other symbols or patterns that offer clues about walleye.
| Sonar Display Feature | What it Looks Like | What it Means for Walleye Fishing |
|---|---|---|
| Thick Arch | Solid, bright, distinct arc | Large fish directly under the transducer. Likely a walleye. |
| Half Arch/Hook | A curved line, not a full arc | Fish on the edge of the sonar cone, or quickly moving in/out. |
| Horizontal Line | A short, horizontal, bright line | Fish holding very tight to the bottom, often mistaken for bottom. |
| Bottom Clingers | Arches or lines directly on or slightly above bottom | Walleye hugging structure or the lakebed. Increase sensitivity. |
| Bait Balls | Dense, often irregular clouds of small, faint marks | Schools of baitfish. Walleye are likely nearby, often below or around. |
| Thermocline | Faint, hazy, horizontal line, often mid-water | Water temperature stratification. Walleye may suspend above/in/below. |
| Hard Bottom | Thick, bright, sometimes "double" bottom line | Rock, gravel, clay. Preferred walleye habitat. |
| Soft Bottom | Thinner, fuzzier bottom line | Mud, silt. Walleye might be here if bait is present, but less common. |
| Structure (Trees) | Irregular, branching patterns, often above bottom | Submerged timber. Walleye use this for cover and ambush. |
| Structure (Rocks) | Jagged, strong returns, can blend with bottom | Rock piles, ledges. Walleye relate closely to these features. |
Remember to use resources like the GoOutdoorsNE Online Permit System to check current regulations before you head out, and always consult the official Nebraska Fishing Regulations Explained for species-specific limits, such as Nebraska Walleye Bag Limits. Understanding your fish finder is just one piece of the puzzle, but it's an incredibly powerful one for finding more walleye on your next Nebraska fishing adventure. You'll be amazed at how much more efficient and successful your trips become once you truly learn to "read" the water through your electronics.
Disclaimer
This article is for general informational purposes only and does not constitute professional advice. Laws, prices and regulations vary by location and change over time. Consult a qualified professional for guidance on your specific situation.